In today’s digital world, taking a screenshot on your iPhone has become an essential skill. Whether you need to capture an important message, a funny meme, or any piece of information for later reference, knowing how to screenshot on an iPhone can come in handy. This guide will walk you through everything you need to know about taking screenshots, from the basic method to advanced tips and tricks. So, if you’re wondering how to screenshot on an iPhone, keep reading to become a pro at capturing your screen.
What is a Screenshot?
Before diving into the “how” of it, let’s briefly talk about what a screenshot is. A screenshot, also known as a screen capture, is an image of what is currently displayed on your screen. It can be useful for saving information, sharing something with others, or simply preserving content for later use.
How to Screenshot on iPhone: The Basic Method
Taking a screenshot on an iPhone is relatively simple. However, the method varies slightly depending on the model of your iPhone. Here’s a step-by-step guide to help you take a screenshot on your device.
iPhone Models with Face ID
If you’re using an iPhone with Face ID (iPhone X and newer models), follow these steps:
- Press the Side Button and Volume Up Button Simultaneously: Quickly press and release the side button (located on the right side of the phone) and the Volume Up button (on the left side).
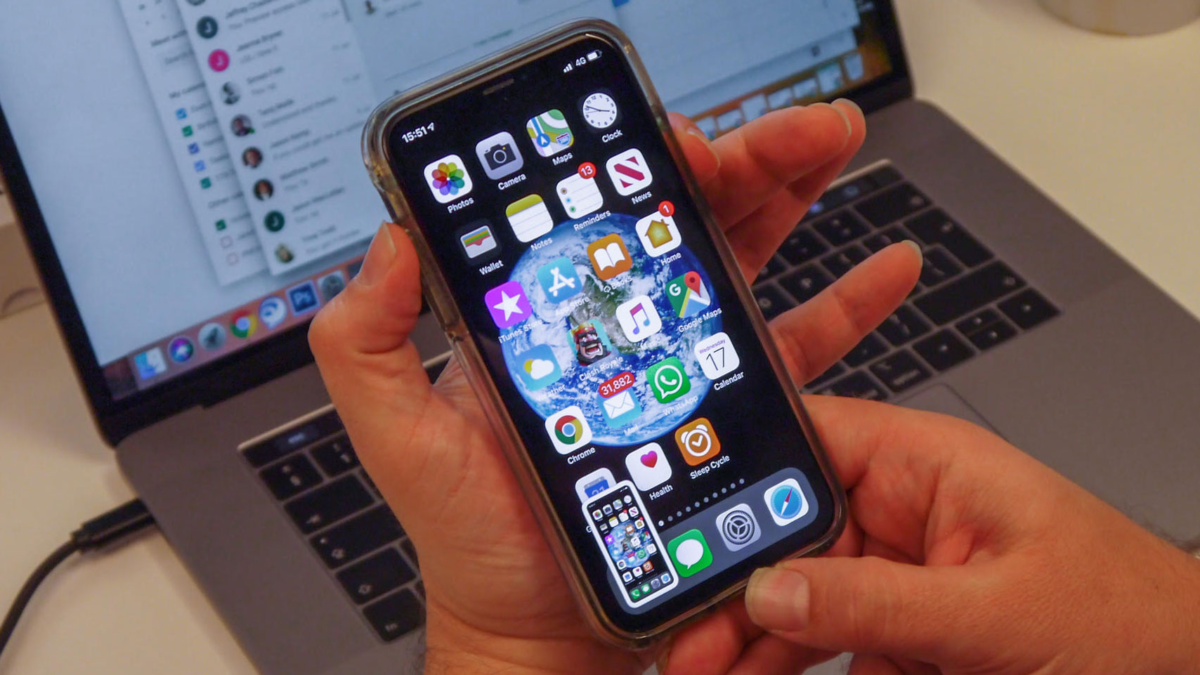
- Check the Screenshot Preview: Once you press both buttons, the screen will flash white, and you’ll hear the camera shutter sound (if your phone’s sound is enabled). A thumbnail of the screenshot will appear at the bottom left of your screen.
- Edit or Share the Screenshot: You can tap on the thumbnail to make edits like adding text, cropping, or drawing. If you don’t need to edit, swipe the thumbnail away to save the screenshot to your Photos app.
iPhone Models with Touch ID

For iPhones with a home button (iPhone 8 and earlier), the method is slightly different:
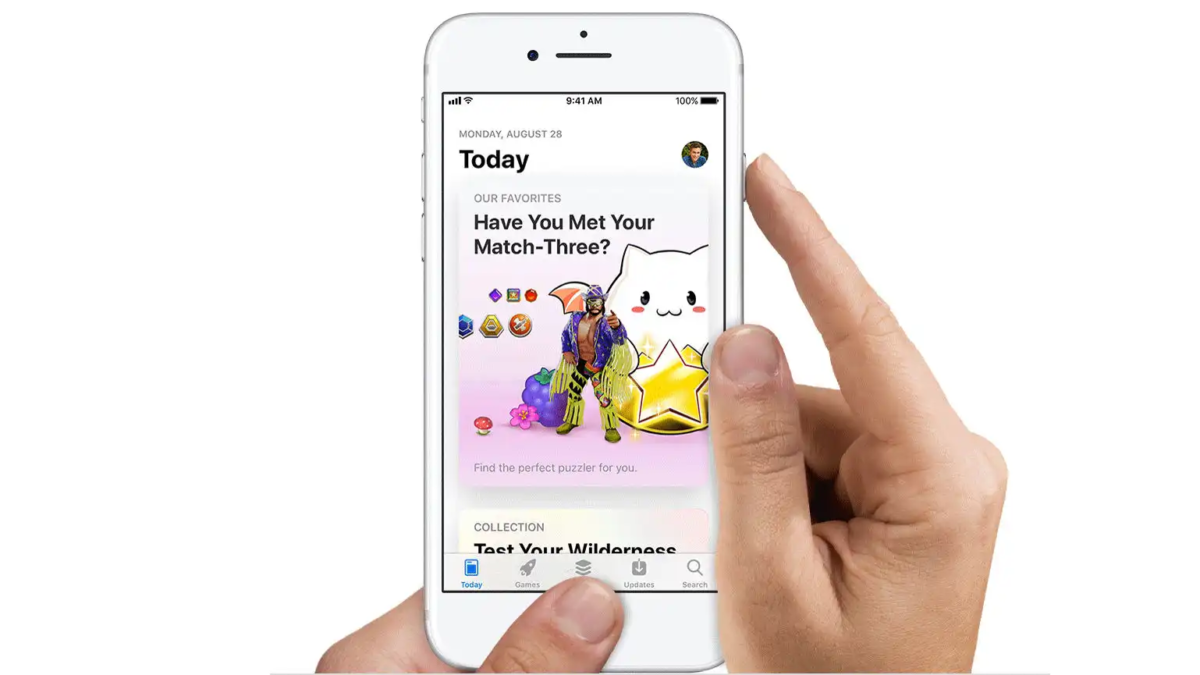
- Press the Home Button and Side Button Simultaneously: Press and release the Home button (the circular button at the bottom of the screen) and the Side button (or Top button, depending on the model) at the same time.
- Check the Screenshot Preview: After pressing the buttons, your screen will flash, and you’ll hear the shutter sound. The screenshot will appear in the bottom left corner for a moment.
- Edit or Share the Screenshot: Just like with iPhones with Face ID, you can tap on the preview to edit or swipe it away to save it.
How to Screenshot on iPhone: Using AssistiveTouch
For those who may have difficulty pressing physical buttons, Apple has provided an alternative method using AssistiveTouch. AssistiveTouch is an accessibility feature designed to help users with physical impairments interact with their device. Here’s how to enable it and use it to take screenshots:
- Enable AssistiveTouch: Go to Settings > Accessibility > Touch > AssistiveTouch. Toggle the switch to turn it on.
- Use the On-Screen Button: Once enabled, a small on-screen button will appear on your iPhone. Tap this button to open the AssistiveTouch menu.
- Select Screenshot: From the menu, tap Device > More > Screenshot. Your phone will take a screenshot without needing to press any physical buttons.
This method is particularly useful for those who have difficulty with the physical button presses.
How to Screenshot on iPhone: Customizing the Screenshot Function
If you want to customize the screenshot functionality, you can take advantage of the Back Tap feature available on iPhones running iOS 14 and later. This allows you to take a screenshot by double-tapping or triple-tapping the back of your iPhone.
Steps to Enable Back Tap for Screenshots:
- Go to Settings: Open the Settings app on your iPhone.
- Navigate to Accessibility: Tap Accessibility > Touch > Back Tap.
- Choose Double or Triple Tap: Select either Double Tap or Triple Tap.
- Assign Screenshot Function: Scroll down and select Screenshot. Now, whenever you double-tap or triple-tap the back of your iPhone, it will take a screenshot.
This feature adds a fun and convenient way to capture your screen, especially if you’re using your phone with one hand.
How to Screenshot on iPhone: Taking Full-Page Screenshots
Sometimes, you may need to capture an entire webpage or long conversation, which doesn’t fit on a single screen. Thankfully, iOS includes a feature that allows you to capture full-page screenshots. This method is available in apps like Safari and Mail.
Steps to Take a Full-Page Screenshot:
- Take a Regular Screenshot: Follow the regular method to take a screenshot (as described earlier).
- Tap on the Full Page Option: After taking the screenshot, tap on the thumbnail preview that appears at the bottom left. Instead of tapping “Done,” you will see an option labeled Full Page.
- Save the Full-Page Screenshot: Once selected, you can scroll through the entire webpage or content captured. Tap Done and then choose Save PDF to Files. This will save the full-page screenshot as a PDF in your Files app.
Benefits of Full-Page Screenshots:
- Ideal for capturing long documents, webpages, or email threads.
- Saves space by storing a long screenshot as a single file.
How to Screenshot on iPhone: Editing and Annotating Your Screenshots
Once you’ve taken a screenshot, you may want to edit it or highlight important parts. Here’s how to edit and annotate your screenshots on iPhone:
- Tap the Thumbnail: After capturing the screenshot, tap the thumbnail preview at the bottom left of your screen.
- Use Editing Tools: The screenshot editor provides several tools like:
- Markups: Draw, highlight, or add text using the drawing tools.
- Crop: Adjust the image by cropping out unnecessary areas.
- Magnify: Use a magnifying glass effect for small text or details.
- Save or Share: Once you’ve finished editing, you can tap Done and either save the screenshot to your Photos or share it via message, email, or social media.
How to Screenshot on iPhone: Troubleshooting Common Issues
While taking a screenshot on iPhone is typically easy, there are some common issues you may encounter. Here are some tips on how to resolve them:
1. Screenshot Button Not Responding
If the screenshot button combination isn’t working, ensure that:
- Your iPhone is running the latest version of iOS.
- You’re pressing the buttons simultaneously but not holding them down for too long.
- If you’re using AssistiveTouch, make sure it’s turned on.
2. Screenshots Not Saving
If your screenshots aren’t saving to the Photos app, try the following:
- Check your phone’s storage to ensure there’s enough space.
- Restart your phone to resolve any temporary software glitches.
3. Unable to Capture a Full Page

If you’re having trouble capturing a full-page screenshot, make sure you’re using an app that supports this feature (like Safari) and that you follow the full-page screenshot method accurately.
Conclusion
Learning how to screenshot on iPhone is a useful skill that can make your digital life easier. Whether you’re capturing information, saving an image for later, or sharing content with others, taking a screenshot on iPhone is fast and simple. From the basic methods to advanced tips like full-page screenshots and AssistiveTouch, this guide has provided all the tools you need. Now that you know how to screenshot on iPhone, you can easily capture moments and save important information with just a few taps!
